
The Ultimate Guide to Tubeless Tyres: Why You Should Make the Switch
Ever wondered how you can get more speed, comfort, and reliability out of your bike? The answer might be simpler than you think: it's time to ditch the inner tubes and go tubeless. Tubeless tyres, once a niche technology reserved for professional racers, are now more accessible than ever and offer a huge range of benefits for everyday cyclists.
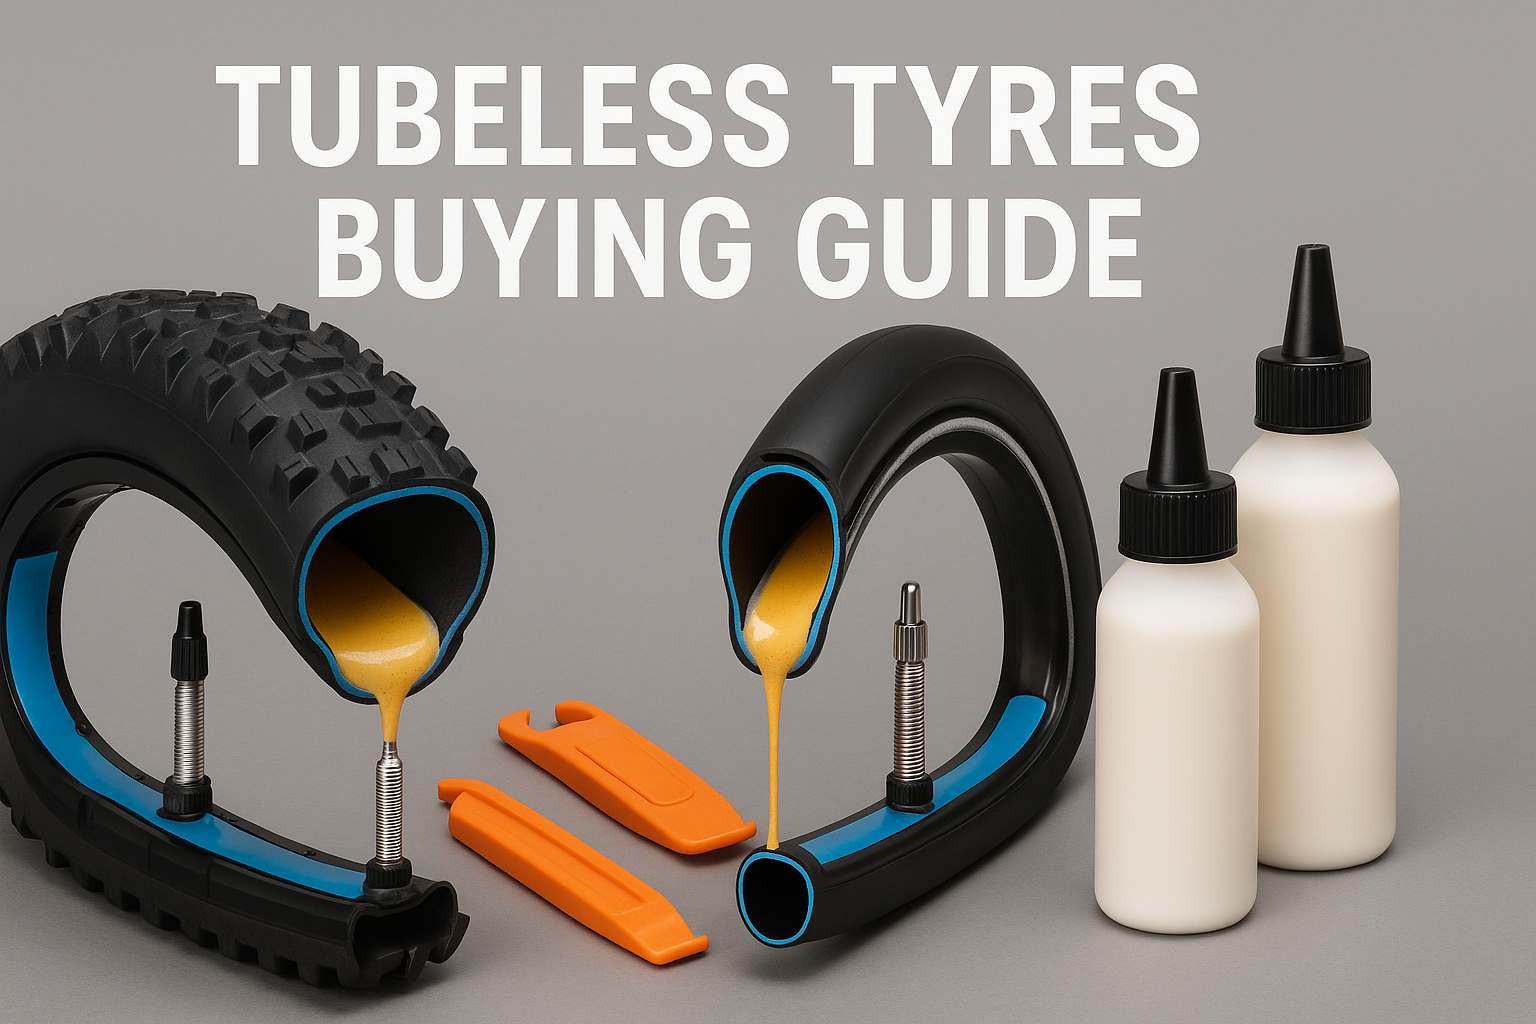
What Are Tubeless Tyres?
As the name suggests, tubeless tyres are exactly that – tyres without a separate inner tube. Instead, the tyre forms an airtight seal directly with the rim. This system relies on a liquid sealant inside the tyre, which plays a crucial role in both preventing air loss and protecting you from punctures. Many cyclists, from competitive racers to weekend enthusiasts, are making the switch to tubeless, and for good reason. It saves weight, allows you to run lower tyre pressures for a faster and smoother ride, and is significantly more resistant to flats.
The Magic of Lower Pressure and Liquid Sealant
One of the biggest advantages of a tubeless setup is the ability to run lower tyre pressures without the risk of "pinch flats" (where the inner tube gets pinched between the tyre and the rim). It is generally considered that a lower pressure, often in the 90-100psi range for road bikes (and even lower for mountain bikes), is ideal. This allows the tyre to deform slightly over small bumps and imperfections in the road, rather than bouncing over them. This subtle difference means less speed lost to vibration and a much more comfortable ride. Think of it like a car's suspension, but for your bike.
The liquid sealant inside the tyre is the secret weapon against punctures. If a sharp object like a thorn or a piece of glass pierces the tyre, the escaping air pressure forces the sealant into the hole. The latex particles in the sealant then quickly coagulate to form a durable plug, often sealing the puncture before you even notice it. For the vast majority of common road and trail debris, this means no more frustrating roadside flat repairs.
Making the Switch: Compatibility and Conversion
Ready to embrace the tubeless life? The first step is to check if your current wheels and tyres are "tubeless-ready." Many modern bikes come with tubeless-compatible rims and tyres, but it's always best to check for markings like "TR" or "Tubeless Ready" on the sidewalls of your tyres and rims.
If your setup isn't tubeless-ready, don't worry. For many wheelsets, all you'll need is a tubeless conversion kit. These kits typically include:
-
Tubeless Valves: These replace your standard Presta or Schrader valves and have a rubber seal to create an airtight connection with the rim.
-
Sealant: The magic liquid that plugs punctures and keeps your tyres inflated.
-
Rim Tape: A special, airtight tape that is applied to the inside of the rim to seal the spoke holes.
The conversion process is straightforward, and with a little patience, it's a great DIY project for any home mechanic. Once you're set up, you can start enjoying all the advantages of life without tubes.
Frequently Asked Questions (FAQs)
1. How often do I need to top up the sealant? The liquid sealant will dry out over time. Generally, you should expect to top up your sealant every 2-6 months, depending on the brand of sealant, the climate you live in, and how often you ride. It's a good idea to check it periodically to ensure you're always protected.
2. Is it hard to install tubeless tires? It can be a bit more involved than changing a regular tyre and tube, but it's definitely manageable for most home mechanics. The trickiest part is often getting the tyre to "seat" on the rim to create the initial airtight seal. Using a compressor or a special "booster" floor pump can make this much easier. Once you've done it once, it gets a lot simpler!
3. What happens if I get a really big puncture that the sealant can't fix? While sealant can handle most common punctures, a large gash or cut in the tyre might be too big for it to seal. For these situations, you can use a tubeless plug kit. These kits come with rubbery "plugs" that you insert into the hole to create a permanent repair, much like how car tyres are plugged. It's a great tool to carry with you on rides.
4. Can I still use an inner tube if my tubeless setup fails? Absolutely! This is the ultimate backup plan. If you have a catastrophic failure that sealant or plugs can't fix, you can simply remove the tubeless valve and install a standard inner tube to get you home. Always carry a spare tube, even when riding tubeless.
5. Are tubeless tires more expensive? Initially, the cost can be slightly higher. Tubeless-ready tyres and rims can sometimes have a premium, and you'll need to purchase sealant and valves. However, when you factor in the money you'll save on replacement inner tubes and the convenience of fewer flats, many riders find that the long-term cost is very reasonable.
Ready to explore your options?


